

This tutrial’s got outdated with M3D 1.6 release. Might still be useful but not entirely accurate.
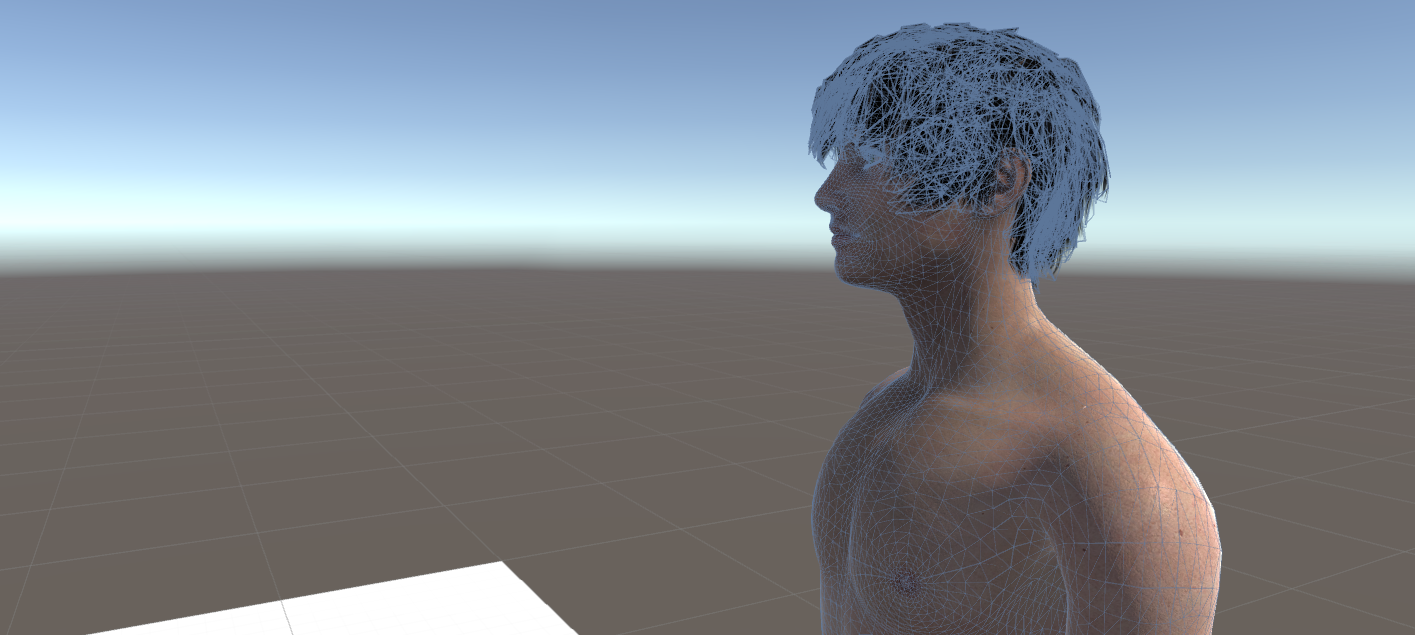
In the last part we set up our scene and added a character controller to our MCSMaleLite model. Now we can proceed to setting blendshapes at runtime.
First we need a UI and a slider to modify the blendshapes. Select Create -> UI -> Canvas in the hierarchy view. Now right click on the newly created canvas and select UI -> Slider. It should put a slider in the center of the UI. Select the slider in hierarchy view and click the anchor button then select the top left anchor. Also set the position to 120, -30, 0. Since the blendshape value for Morph 3D can take a number between 0 and 100 we need to set the Max Value in the Slider (Script) section in Inspectior view to 100.

Next thing we need is a script to communicate the slider change to MCSMaleLite model. Create a folder named “Scripts” under Assets in project view and create a C# Script in it named “UIController” then drag the script over the Canvas in hierarchy view. This will add the script to this object. Double click the script to open it in editor. First add MORPH3D import and two variables for holding the MCSModel and manager to it.
|
1 2 3 4 5 6 7 8 9 10 |
using UnityEngine; using System.COllections; using MORPH3D; public class UIController : MonoBehaviour { [SerializeField] private GameObject mcsModel; private M3DCharacterManager manager; |
GameObject mcsModel will hold our MCSMaleLite reference, and manager will hold a reference to its M3DCharacterManager. In Start() method we need to get the manager reference from mmcsModel like this:
|
1 2 3 |
void Start() { manager = mcsModel.GetComponent<M3DCharacterManager>(); } |
Unless we assign the MCSMaleLite to mcsModel beforehand as soon as we run the game you’ll see UnassignedReferenceException in Unity console. If you click on the Canvas object in hierarchy view and scroll down in the Inspector view you should see our UI Controller (Script). And conveniently enough you’ll see a field Mcs Model under it. This is our GameObject mcsModel in the script. It shows in Unity editor because we marked it with [SerializeField]. (Your other option is to make it public instead of private then you wouldn’t need the [SerializeField] but it is having your variables private when you can is always better.)
Drag the MCSMaleLite object from the hierarchy view to Mcs Model slot under UI Controller (Script) section.

Go back to C# editor and add this methodto UIController script:
|
1 2 3 4 |
public void SetBlendShapeValue(float value) { manager.SetBlendshapeValue("FBMHeavy", value); } |
Now we need to bind the value changed event of the slider to this public function. Go back to Unity editor and click Slider under the Canvas in hierarchy view. Scroll down in the Inspector view and find On Value Changed (Single) section in the bottom. Click the + at the bottom right. It will bring an Object slot. Drag the Canvas object from hierarchy to this slot. We are binding the Canvas object because the function we need to bind is in the UIController script that we added to the Canvas object. If you click the combobox you should see UIController in the list. select UIController -> SetBlendshapeValue (not the SetBlendshapeValue(float) under the Static Parameters section. That wouldn’t dynamically pass the slider value, instead it would provide you with a field to set the value statically)

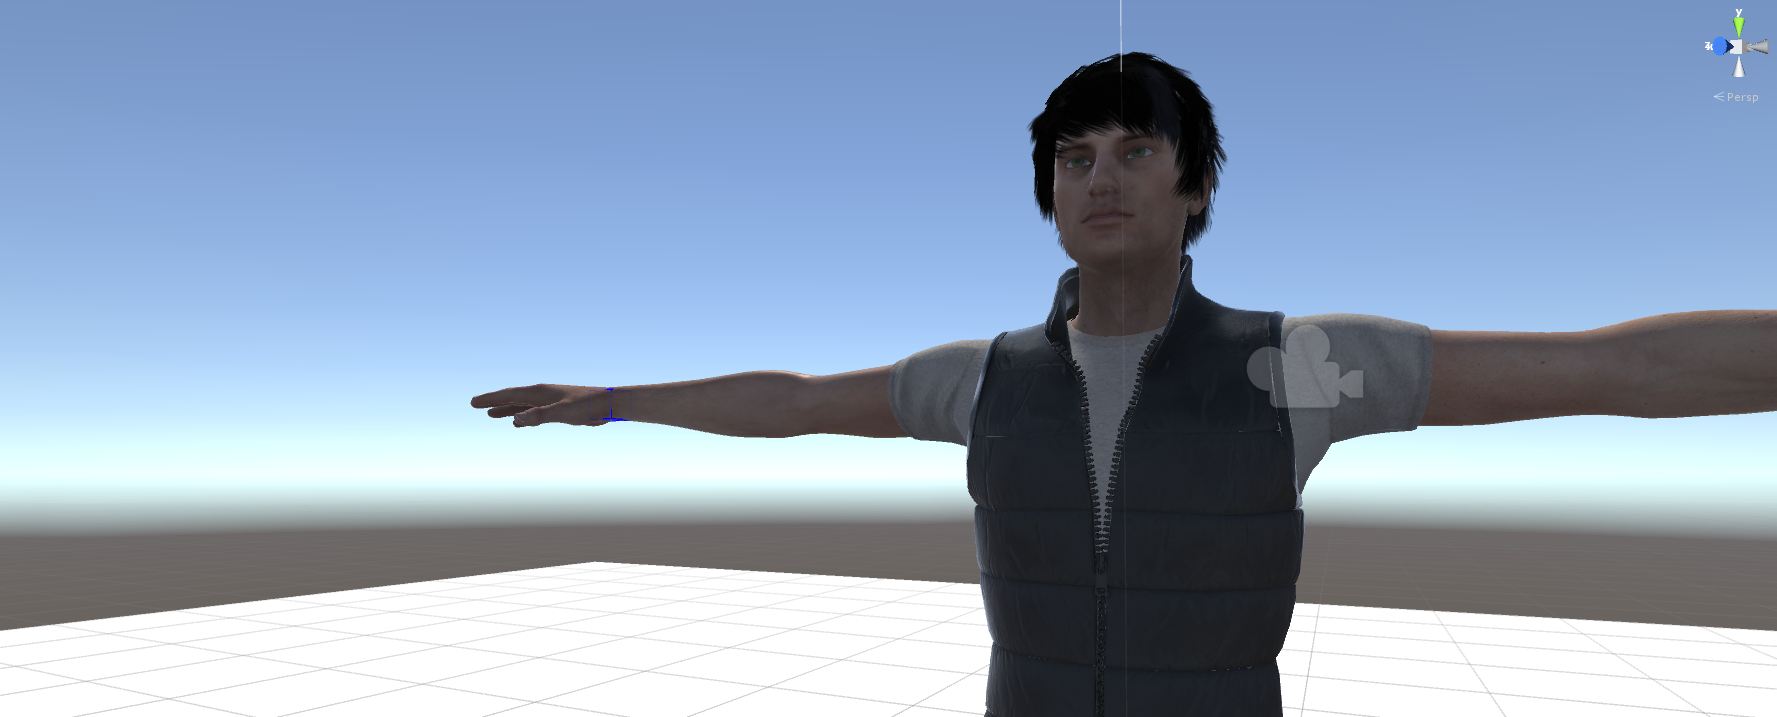
Now run the project and move the slider. You should see that MCSMaleLite is updating the blendshape at runtime.
For the demonstration purposes this slider changes the FBMHeavy attribute statically. But you can easily add other sliders and other functions to alter different blendshapes. The blendshape names can be found under MORPH3D -> Resources folder. If you click on the M3D_BlendshapeNames you should see the list in the Inspector view. Actual blendshape name that you need to use is not the one in text fields but the labels on the left.

For convenience here is the complete UIController script:
|
1 2 3 4 5 6 7 8 9 10 11 12 13 14 15 16 17 18 19 |
using UnityEngine; using System.Collections; using MORPH3D; public class UIController : MonoBehaviour { [SerializeField] private GameObject mcsModel; private M3DCharacterManager manager; void Start () { manager = mcsModel.GetComponent<M3DCharacterManager> (); } public void SetBlendshapeValue (float value) { manager.SetBlendshapeValue ("FBMHeavy", value); } } |
In the next tutorial part we’ll have a look at adding the MCSModel dynamically to the scene at runtime. We’ll also add clothing and hair from prefabs again at runtime by scripts.
Links to the other parts of the tutorial:
- Morph 3D Tutorial Part 1: Setting up the scene
- Morph 3D Tutorial Part 2: Changing blendshapes at runtime (You are here)
- Morph 3D Tutorial Part 3: Adding MCSMaleLite to scene and adding / changing clothes at runtime


