

This tutrial’s got outdated with M3D 1.6 release. Might still be useful but not entirely accurate.
This part of tutuorial is about setting up the scene with a Morph 3D model.
So first thing’s first, open unity and create a new project called Morph3DTutorial.
From the “Window Menu” select the “Asset Store”. Search “MCS Male Lite” and select it then click download. (you might need to login)

When download is complete you’ll see a popup window to import the package. Just click the import button and let Unity do its thing.

Import will take a while and even when it is complete Morph 3D might not work. If that happens you’ll need to reimport the Morph 3D folder. (I almost every time needed to reimport)
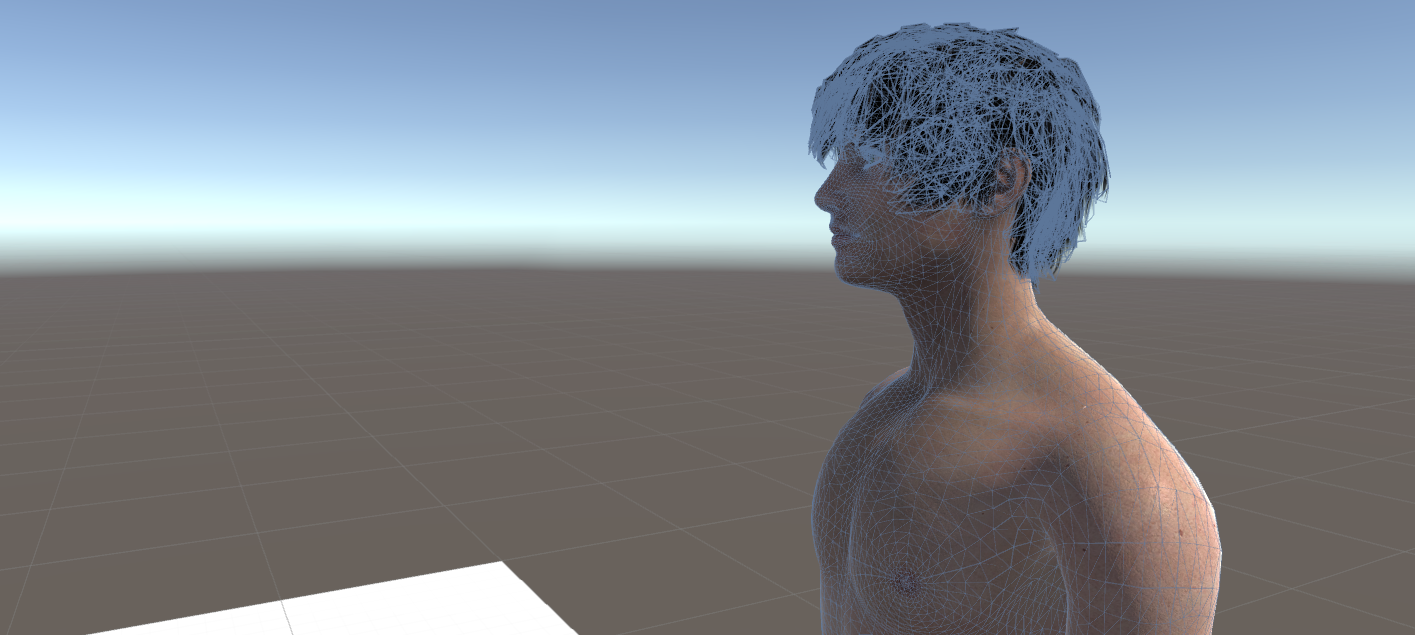
To see if you need to reimport put the male character prefab into the scene. To do that drag the prefab seen in the screenshot to hierarchy tab. Set the transform position to 0, 0, 0 if it turned out to be different.

If the model is not skinned as seen in the screenshot (i.e. gray) you need to reimport the folder. To do that right click the MORPH3D folder and select “Reimport” from the menu. This will take another few minutes to complete. If we don’t do this Morph 3D will not work, so it’s necessary.
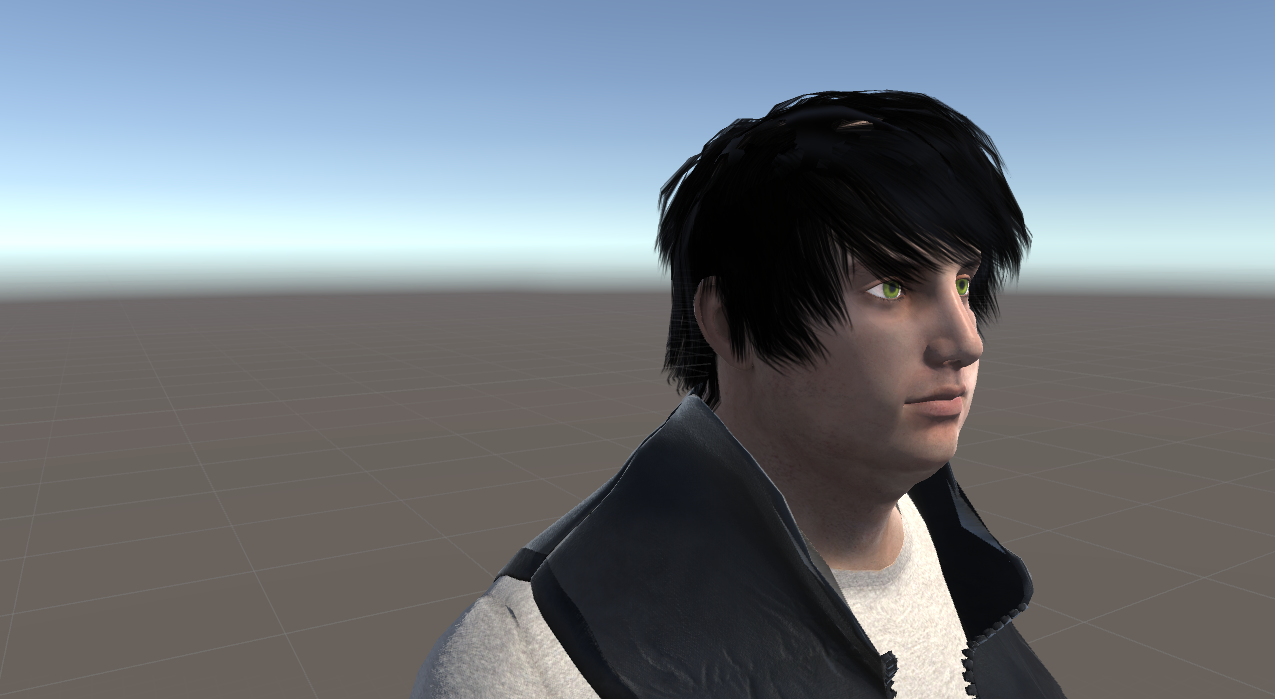
When it’s complete you should see that the model is skinned now. But naked. Let’s put some clothes on him. Select the MCSMaleLite, in the Inspector window click open the Content Packs under M3D Character Manager and drag the UrbanMetro prefab into GameObject slot. You should see the UrbanMetro appear right above it.

(While you are at it you can put the BritHair prefab the same way too.)
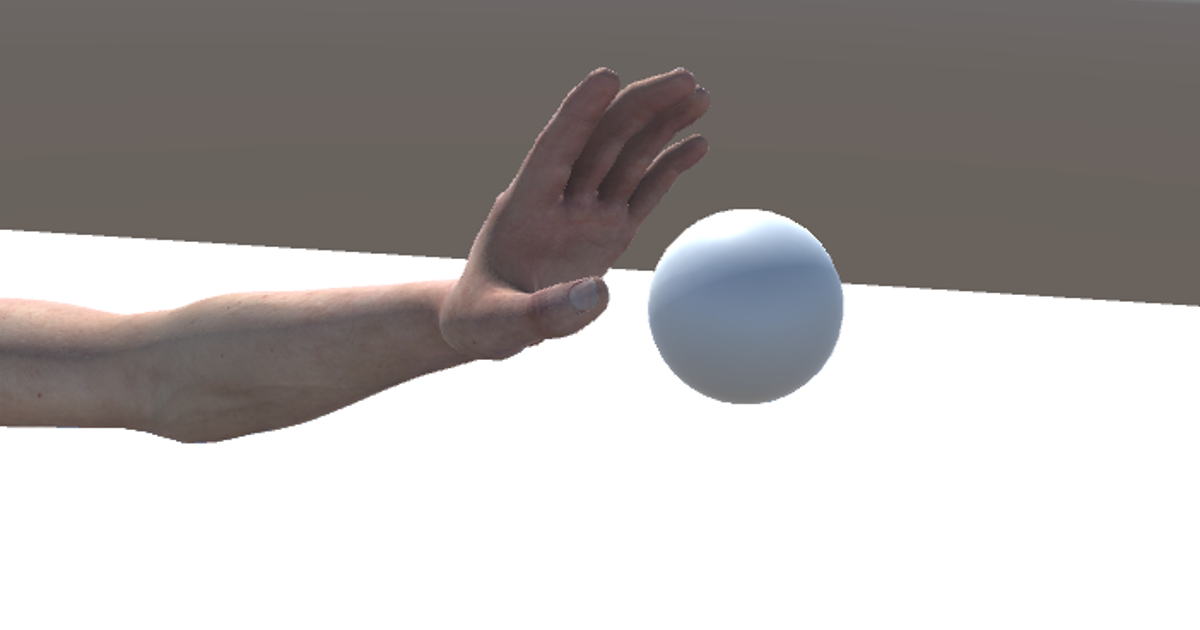
At this point you can use the belendshape input fields under M3D Character Manager to alter the model in scene. (you can click drag on the blendshape labels too.) This is how you modify the model before you run the game.
Next part of the tutorial will explain how to change blendshapes on an existing Morph 3D character at runtime. But before we do that let’s finish up this scene by adding a plane and a character controller to the MCS model.
In the hierarchy view with nothing selected click the create button and under 3D Objects select Plane. Set the position to 0, 0, 0 and scale to 2, 1, 2 to make it a little bit bigger.
We will use the 3rd person controller and camera from Unity Standard Assets. To do that first we need to import the packages “Characters” and “Cameras”. It can be accomplished by selecting correspondig items from Assets -> Import Package menu.
When the packages are imported drag the ThirdPersonController prefab from the project view to hierarchy view and set the position to 0, 0, 0.

Also drag the MultipurposeCameraRig prefab from the Standard Assets -> Cameras -> Prefabs to hierarchy view. We need to set tags for controller and camera so camera follows the player. To do this select MultipurposeCameraRig and in the Inspector view select MainCamera tag. Do the same for ThirdPersonController but select Player as tag this time. With the new camera there are now two cameras in the scene. We don’t need the old one named MainCamera anymore so delete it from the scene.
Now if you hit play you can move the Ethan character around in the scene. Hit play again to stop and drag the MCSMaleLite under ThirdPersonController in hierarchy view. Check that MCSMaleLite has a position of 0, 0, 0. Select the ThirdPersonController and in Inspector view under Animator section click the little circle next to Avatar and select MCSMaleLiteAvatar from the list. Finally delete EthanBody, EthanGlasses and EthanSkeleton form ThirdPersonController.
If you play now you should be able to move MCSMaleLite model with WASD keys. This worked because the parent GameObject of MCSMaleLite has an animator controller and MCSMaleLiteAvatar as the avatar. If you want to add animations to MCSMaleLite without the ThirdPersonController you need to add animator controller to MCSMaleLite itself. Just remember to doublecheck that the animations used in animator are rigged as humanoid (you can check this by selecting rig tab when animation is selected).
If you haven’t done so yet it is a good time to save your scene 😉
Next tutorial part is about changing the blendshapes at runtime.
Links to the other parts of the tutorial:
- Morph 3D Tutorial Part 1: Setting up the scene (You are here)
- Morph 3D Tutorial Part 2: Changing blendshapes at runtime
- Morph 3D Tutorial Part 3: Adding MCSMaleLite to scene and adding / changing clothes at runtime


